Welcome to Splox
Splox has two products: Agent Chat for using pre-built agents, and the Workflow Builder for creating your own. This quickstart covers both.Agent Chat
chat.splox.ioBrowse agents and start chatting — no setup required. Also available as a desktop app for Windows, macOS, and Linux.
Workflow Builder
app.splox.ioBuild and customize multi-agent workflows visually
Step 1: Start with the Template
AI Agent Starter
Your first multi-agent workflowA simple agent connected to tools - ready to customize and extend.Includes:
- Voice and text interaction
- Tool integration examples
- Pre-configured AI model
Step 2: AI Provider (Optional)
The starter template uses Splox’s default AI provider - no setup needed. You can switch to your own API keys later.Want to use your own API keys? (BYOK)
Want to use your own API keys? (BYOK)
Step 3: Understand the Workflow
The starter template shows you the basics:Tool Nodes
Actions the agent can take - API calls, data processing, integrations with 10,000+ tools.
Step 4: Chat with Your Workflow
Once your workflow is ready, chat with it directly from the builder: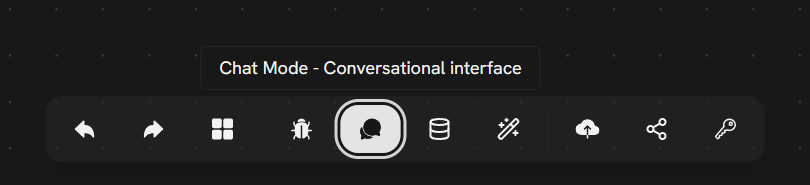
- Click the Chat icon (speech bubble) in the toolbar on app.splox.io
- Select your entry node from the dropdown
- Type or speak your message
- See the agent respond in real-time — watch nodes execute in the workflow as it runs
Other ways to run your workflow
Other ways to run your workflow
Step 5: Monitor & Debug
Keep an eye on your workflow executions: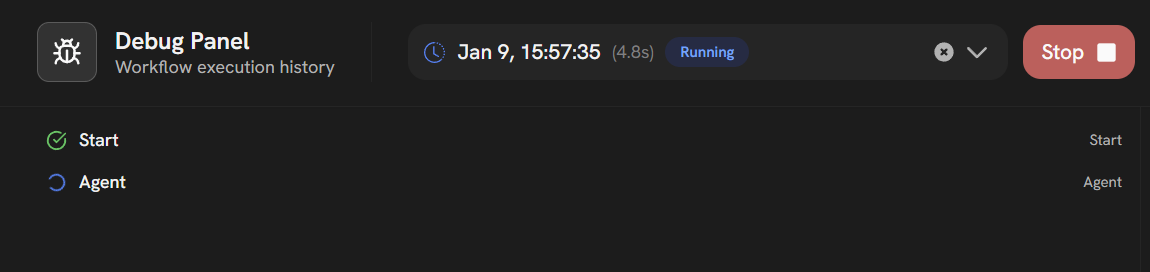 Debug Panel - Shows real-time execution status:
- View all nodes in your workflow
- See which nodes are running, completed, or blocked
- Monitor execution time and status
- Click any node to inspect its input/output
Execution History
View all past runs, see which nodes succeeded/failed, and inspect outputs.Location: Workflow → Executions tab
Real-Time Monitoring
Watch your workflow run in real-time. The Debug Panel shows node-by-node progress with status indicators (Running, Completed, Blocked).Location: Debug Panel (sidebar during execution)
Error Handling
If a node fails, the workflow stops. Click the failed node to see the error message.Fix: Update configuration and re-run
Node Outputs
Every node stores its output. Reference it in later nodes using
{{ node_id.output }} syntax.Example: {{ llm_1.content }}Next Steps
Now that you’ve chatted with your first agent, here’s what to explore:Add More Tools
Connect from 10,000+ MCP tools and skills to make your agent domain-specific
Build Multi-Agent Workflows
Connect multiple agents where each handles a specialized task
Learn Node Types
Master Agent nodes, Tool nodes, Switch logic, and more
Agent Marketplace
Browse and chat with published agents
Need Help?
Telegram Community
Chat with the team and other users
Desktop App
Get the native app for voice chat with agents
Quickstart Checklist
Make sure you’ve completed these steps:- Opened the starter template on app.splox.io
- Chatted with an agent on chat.splox.io (voice or text)
- Explored the workflow graph (Start → Agent → Tools)
- (Optional) Downloaded the desktop app for voice chat
- (Optional) Added your own API keys via BYOK