> ## Documentation Index
> Fetch the complete documentation index at: https://docs.splox.io/llms.txt
> Use this file to discover all available pages before exploring further.
# Tool Node
> Execute operations via MCP servers, platform integrations, sandboxes, and external APIs
## What is a Tool Node?
A **Tool Node** executes actions — calling APIs, running commands, querying databases, managing files, and more. Tool nodes are the hands and feet of your AI agents, letting them interact with the real world.
Tool nodes work in two modes:
Connected to an Agent via a **tool edge**. The Agent's LLM autonomously decides when and how to call the tool during its iteration loop.
Connected via a **parallel edge**. The tool executes once with pre-configured arguments when reached in the workflow.
***
## How It Works
### Agent Mode (via Tool Edge)
When a Tool node is connected to an Agent node through a **tool edge** (from the Agent's TOOLS handle):
1. The Agent discovers all connected tools automatically at the start of its loop
2. Tool definitions (names, descriptions, input schemas) are sent to the LLM
3. The LLM decides which tools to call based on the task
4. The Agent executes the tool calls and feeds results back to the LLM
5. This repeats until the Agent finishes its iteration loop
In this mode, the **Allowed Tools** and **Tool Approval** settings are available to control which tools the LLM can access and whether human approval is required.
### Manual Mode (via Parallel Edge)
When a Tool node is connected via a standard **parallel edge**:
1. The tool executes when its parent node completes
2. A single pre-configured tool is called with fixed or templated arguments
3. The result flows to downstream nodes
In this mode, you configure **Selected Tool** and **Tool Arguments** directly.
***
## Configuration
### MCP Server
Every Tool node is backed by an **MCP server** — the service that provides the actual tools.
**Description:** The MCP server that provides tools to this node.
**Type:** Select
**Required:** Yes
**Options include:**
| Server | Description |
| ----------------- | ------------------------------------------------------------------------------------ |
| **Tool Router** | Meta-tool that can discover and call tools from any connected MCP server dynamically |
| **Splox** | Built-in platform operations (API requests, KV store, vector search, etc.) |
| **Sandbox** | E2B sandbox operations (execute commands, read/write files, upload to S3) |
| **Remote Server** | SSH-based operations on remote machines |
| **Local Machine** | Desktop automation via the Splox desktop app |
| **Skills** | Reusable skill packs that bundle related tools |
| **Composio** | Third-party integrations via Composio |
| **Event Hub** | Event-driven messaging and webhooks |
| **Media** | Media processing operations |
| **Custom MCP** | Any MCP server you've added via the [Tools](https://app.splox.io/tools) page |
**Default:** `system:tool_router`
The **Tool Router** is ideal for Agent-mode tools — it lets the LLM dynamically discover and use any of your connected tools without configuring each one individually.
### Manual Mode Settings
These fields appear when the Tool node is **not** connected via a tool edge (manual/parallel-edge mode):
**Description:** The specific tool to execute from the selected MCP server.
**Type:** Select (dynamic, loaded from MCP server)
**Required:** Yes (in manual mode)
After selecting an MCP server, this dropdown shows all available tools from that server.
**Description:** Input arguments for the selected tool.
**Type:** Dynamic form (schema-driven)
**Required:** Depends on tool
The input form is generated from the tool's JSON schema. Each field maps to a tool parameter. Supports **Jinja2 template variables** for dynamic values:
```
{{ start.user_id }}
{{ previous_node.output_field }}
```
### Agent Mode Settings
These fields appear when the Tool node **is** connected via a tool edge:
**Description:** Restrict which tools from this MCP server the LLM can access.
**Type:** Multi-select (dynamic, loaded from MCP server)
**Required:** No
**Behavior:**
* **Empty (default):** All tools from the server are available to the LLM
* **Selected:** Only the specified tools are exposed to the LLM
**Use cases:**
* Limit LLM to safe/relevant operations
* Prevent access to destructive tools (e.g., delete operations)
* Optimize by reducing tool list size for faster LLM decisions
**Description:** Require human approval before tool calls execute.
**Type:** Approval configuration
**Required:** No
**Modes:**
| Mode | Behavior |
| -------------------- | -------------------------------------------------------- |
| **Auto** | All tools execute immediately without approval (default) |
| **Require Approval** | All tools require human approval before executing |
**Timeout:** Configurable (default: 300 seconds / 5 minutes). If no approval is received within the timeout, the tool call is rejected.
When approval is required, the agent pauses and the approval request appears in the chat interface. The user can approve or reject each tool call.
### Common Settings
These fields are available in both modes:
**Description:** Where to store tool execution output.
**Type:** Select
**Required:** No
| Option | Behavior | Best For |
| ---------- | ------------------------------------------ | ------------------------------------------- |
| **Memory** | Store output in workflow memory (default) | Small data, JSON responses, text |
| **S3** | Upload output to S3 and return a reference | Large files, images, documents, binary data |
Outputs exceeding 200KB are automatically uploaded to S3 regardless of this setting.
**Description:** How to handle tool execution failures.
**Type:** Select
**Required:** No
| Option | Behavior |
| ------------ | -------------------------------------------------------------------------------- |
| **Fail** | Mark the node as failed and trigger error edges |
| **Continue** | Return the error as output and let the workflow continue (default in Agent mode) |
In Agent mode with `continue`, the error is reported back to the LLM, which can decide how to handle it (retry, use a different tool, or respond to the user).
**Description:** Reference data from other nodes using Jinja2 templates.
**Type:** Variable mapping list
**Required:** No
Add mappings to make data from upstream nodes available in tool arguments and templates. See [Variable Mappings](/nodes/variable-mappings) for details.
**Description:** Number of automatic retries on transient failures.
**Type:** Number
**Default:** 3
**Range:** 0–10
**Description:** Maximum execution time in minutes.
**Type:** Number
**Default:** 525,600 (1 year)
***
## Handles
| Handle | Position | Type | Description |
| ------------ | -------- | --------- | --------------------------------------------------------------------- |
| **Input** | Left | Execution | Receives execution flow from parent nodes or tool calls from an Agent |
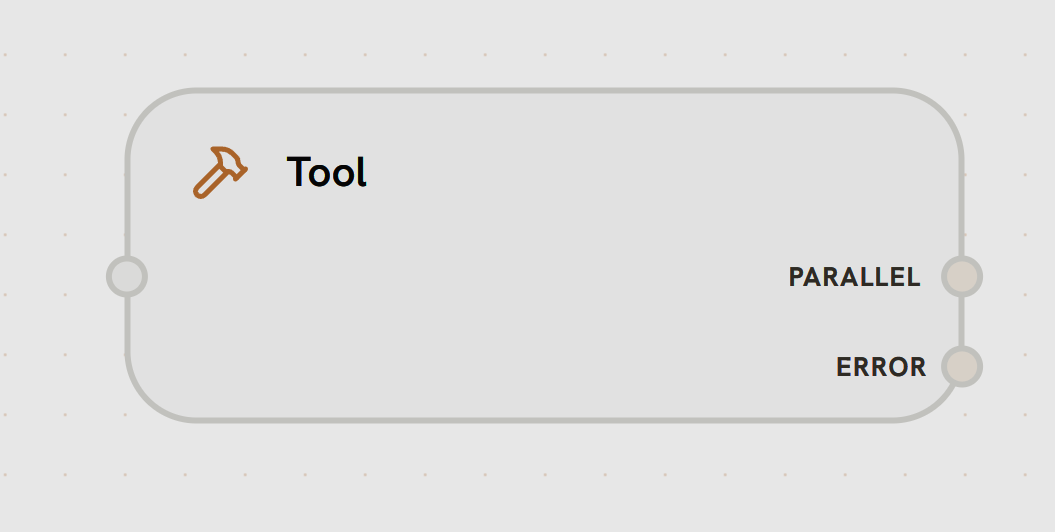
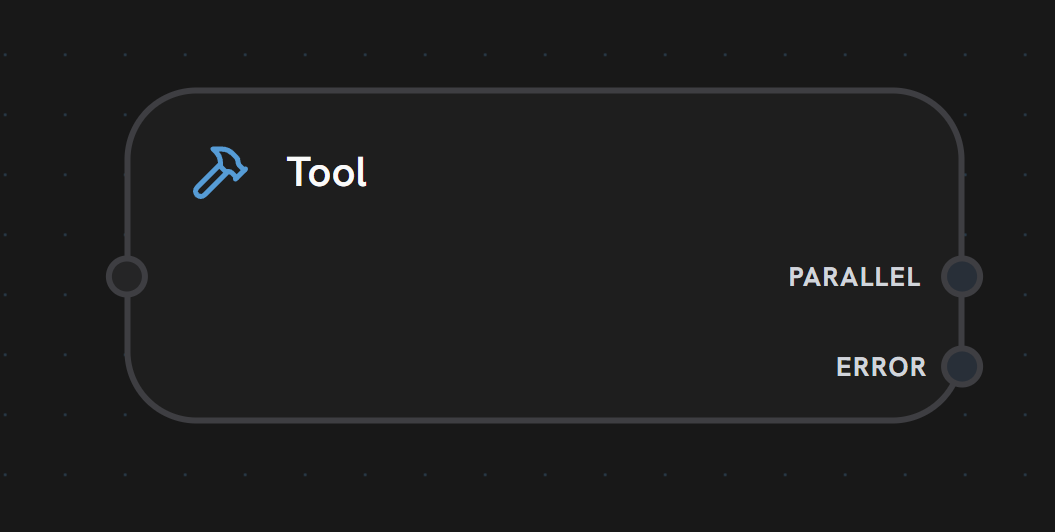
| **PARALLEL** | Right | Execution | Sends output to next nodes on successful completion |
| **ERROR** | Right | Error | Routes to fallback nodes when execution fails |
Tool nodes do **not** have a TOOLS handle — they receive tool calls through their input handle when connected to an Agent via a tool edge.
***
## Output
The Tool node produces a `ToolResult`:
| Field | Description |
| -------------------- | ----------------------------------------------------------------- |
| **tool\_name** | Name of the tool that was executed |
| **tool\_call\_id** | Unique identifier for this tool invocation |
| **args** | The arguments passed to the tool |
| **result** | The tool's return value (content) |
| **error** | Error message if the tool failed (null on success) |
| **files** | Any files produced by the tool execution |
| **approval\_status** | Whether the call was approved/rejected (when approval is enabled) |
In Agent mode, tool results are automatically fed back to the LLM. In manual mode, access results in downstream nodes via variable mappings: `{{ tool_node_name.result }}`.
***
## System MCP Servers
Splox provides several built-in MCP servers:
A meta-tool server that gives your agent the ability to **discover and call tools dynamically** from any connected MCP server.
**Tools provided:**
* `splox_list_user_connections` — List all connected MCP servers
* `splox_search_tools` — Search for tools across all servers
* `splox_execute_tool` — Execute any discovered tool
* `splox_get_tool_schema` — Get a tool's input schema
**Best for:** General-purpose agents that need to decide which tools to use at runtime.
Built-in platform operations.
**Common tools:** API Request, KV Store, Vector Search, DateTime operations
**Best for:** Interacting with Splox platform features directly.
Execute code and commands in isolated [E2B](https://e2b.dev) sandbox environments.
**Common tools:** Execute Command, Read File, Write File, Upload to S3
**Best for:** Code execution, data processing, file manipulation in an isolated environment.
**Configuration:** Requires a sandbox template and sandbox ID (can be templated from previous nodes for persistent sandbox sessions).
Execute commands on remote machines via SSH.
**Common tools:** SSH commands, file operations
**Best for:** Server management, deployment automation, remote execution.
Control the user's local machine via the Splox desktop app.
**Best for:** Desktop automation, local file access, system interactions.
Reusable skill packs that bundle related tools together.
**Best for:** Sharing curated tool sets across agents and workflows.
Event-driven messaging and webhook operations.
**Best for:** Publishing events, triggering webhooks, inter-workflow communication.
Media processing operations.
**Best for:** Image, audio, and video processing tasks.
Third-party integrations via Composio.
**Best for:** Connecting to SaaS platforms (Slack, GitHub, Gmail, etc.) with managed OAuth.
***
## Custom MCP Servers
Connect your own MCP servers via the **Tools** page:
1. Go to **[Add Custom Tool](https://app.splox.io/tools/custom/new)**
2. Configure your MCP server with its URL and authentication
3. The server appears in the MCP Server dropdown across all Tool nodes
**Supported transports:**
* **HTTP** — Standard RESTful communication
* **SSE** — Server-Sent Events for streaming
**Authentication:**
* **OAuth** — Full OAuth flow with token persistence
* **Manual** — Custom headers (API keys, bearer tokens)
* **None** — No authentication
***
## Best Practices
For Agent-mode tools, the Tool Router lets the LLM discover and use tools dynamically without pre-configuring each one
In Agent mode, restrict allowed tools to only what the agent needs — fewer tools means faster and more accurate LLM decisions
Use pattern-based approval rules to auto-approve safe operations and require human review for destructive ones
Use `continue` error strategy in Agent mode so the LLM can recover from tool failures
Set output storage to S3 for tools that produce large files or binary data
Use Jinja2 templates in manual-mode arguments to pass dynamic data from upstream nodes
***
## What's Next?
Learn how agents autonomously call tools in a loop
How to connect agents to tools via the TOOLS handle
Reference data between nodes with Jinja2 templates
Understand execution states and transitions