> ## Documentation Index
> Fetch the complete documentation index at: https://docs.splox.io/llms.txt
> Use this file to discover all available pages before exploring further.
# Entry Node
> Entry point for workflow execution - where every workflow begins
## What is an Entry Node?
The **Entry Node** is the entry point of every workflow. When a workflow is triggered — via chat, API, or an external event — execution begins at the specified entry node, which passes the incoming payload to downstream nodes.
Every workflow must have at least one entry node. A workflow can have **multiple entry nodes** to support different entry points for different use cases.
***
## How It Works
The entry node is simple — it receives the raw input payload and passes it through as its output. Downstream nodes access the payload fields via variable mappings like `{{ start.text }}`, `{{ start.chat_id }}`, `{{ start.files }}`, etc.
The payload structure depends on how the workflow is triggered:
When triggered via the chat interface or `POST /v1/workflow-requests/run`:
```json theme={null}
{
"text": "User's message or query",
"chat_id": "uuid-of-the-chat-session",
"files": [
{ "url": "https://...", "name": "document.pdf", "type": "application/pdf" }
]
}
```
| Field | Description |
| --------- | ----------------------------------------------------------------- |
| `text` | The user's message or query |
| `chat_id` | UUID of the chat session (used by Agent nodes for context memory) |
| `files` | Optional array of uploaded files |
When triggered by another Agent node calling this workflow as a child:
The payload contains the message and context from the parent agent. The structure depends on the parent's configuration.
***
## Configuration
**Description:** A name to identify this entry node on the canvas and in the entry node selector.
**Type:** String
**Required:** Yes
**Example:**
```
"Chat Handler"
"Event Processor"
"API Endpoint"
```
Use descriptive labels — when a workflow has multiple entry nodes, users and API callers need to choose which one to trigger.
**Description:** Reference data from other nodes using Jinja2 templates.
**Type:** Variable mapping list
**Required:** No
See [Variable Mappings](/nodes/variable-mappings) for details.
**Description:** Number of automatic retries on transient failures.
**Type:** Number
**Default:** 3
**Range:** 0–10
**Description:** Maximum execution time in minutes.
**Type:** Number
**Default:** 525,600 (1 year)
***
## Handles
| Handle | Position | Type | Description |
| ------------ | -------- | --------- | ------------------------------------------------ |
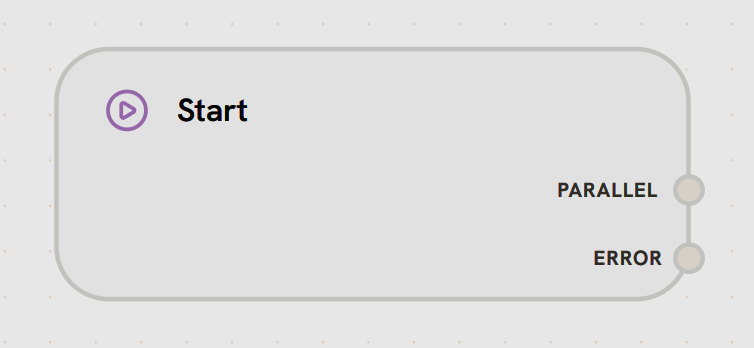
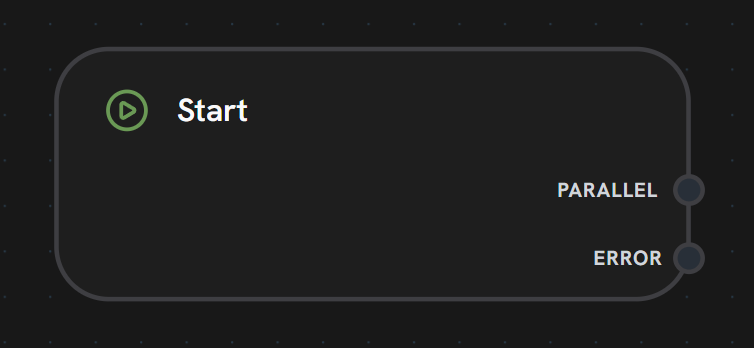
| **PARALLEL** | Right | Execution | Sends the input payload to downstream nodes |
| **ERROR** | Right | Error | Routes to fallback nodes if the entry node fails |
Entry nodes have **no input handle** — they are always the first node in the execution chain.
***
## How to Trigger Workflows
### 1. Chat Interface
The most common way to trigger a workflow during development and testing:
1. Open a workflow in the editor
2. Open the **Chat** panel
3. Select an entry node from the dropdown
4. Type a message and send
The message becomes `{{ start.text }}` and the chat session ID becomes `{{ start.chat_id }}`.
### 2. API — Run Workflow
Trigger a workflow programmatically via the API:
```bash theme={null}
POST https://app.splox.io/api/v1/workflow-requests/run
Authorization: Bearer YOUR_TOKEN
Content-Type: application/json
{
"workflow_version_id": "your-workflow-version-id",
"chat_id": "your-chat-id",
"entry_node_ids": ["your-entry-node-id"],
"query": "Process this request",
"files": []
}
```
**Response:**
```json theme={null}
{
"workflow_request_id": "uuid-of-the-execution"
}
```
Use the returned `workflow_request_id` to:
* **Listen for results:** `GET /v1/workflow-requests/{id}/listen` (SSE stream)
* **Get execution tree:** `GET /v1/workflow-requests/{id}/execution-tree`
* **Get history:** `GET /v1/workflow-requests/{id}/history`
Rate limited to **20 workflow executions per minute** per user.
***
## Multiple Entry Nodes
A single workflow can have multiple entry nodes for different entry points:
```
Workflow: Customer Support
├── Start: "Chat Handler" ← For interactive chat sessions
├── Start: "Internal Agent" ← For agent-to-agent calls
└── Start: "API Requests" ← For programmatic API calls
```
When triggering a workflow, you specify which entry node to use via the `entry_node_ids` parameter. In the chat interface, a dropdown lets you select the active entry node.
Use multiple entry nodes when your workflow needs to handle different types of input — each entry node can lead to a different processing path.
***
## Best Practices
Name entry nodes clearly — they appear in dropdowns and API calls
Use conditional logic (Switch nodes or template defaults) to handle cases where optional payload fields may be missing
Create separate entry nodes for different trigger sources rather than handling everything in one
***
## What's Next?
Connect your entry node to an Agent to process the incoming data
Access entry node payload data in downstream nodes
Understand execution states and transitions
Step-by-step tutorial using an entry node